
How to add alignment pegs when you split a model
Pegs make split prints line up the same way every time, and they hold pieces in place while glue sets. Getting the clearance right is the difference between parts that slide together and parts you have to sand for an hour.
Printed pegs or separate dowels?
- Printed pegs grow out of one piece and drop into a socket in the next. Nothing extra to buy, and they can't get lost. They're weakest where the peg meets the face, so they're for alignment, not strength.
- Separate dowels are loose pins, printed or bought (wood, metal rod, or lengths of filament). Both faces get a hole. They're stronger and easy to replace, but there are more parts to keep track of.
For most props, printed pegs plus glue are plenty. For heavy or load-bearing joints, add a metal rod or PVC pipe through the middle as well.
Size and clearance
| Setting | Starting point |
|---|---|
| Peg diameter | 6 to 12 mm, bigger for bigger pieces |
| Peg length | 10 to 20 mm |
| Gap around the peg | 0.1 mm for a tight press fit, 0.2 mm for a slip fit with glue |
| Socket depth | About 1 to 1.5 mm deeper than the peg, so the faces close flush |
Every printer and filament is a little different, so treat these as a starting point. The extra socket depth matters more than people expect: without it, a slightly long peg or a blob of glue holds the seam open.
Where to put them
- Use at least two pegs per face, so the pieces can't rotate.
- Keep them away from thin edges, at least a peg's width in from the outside wall.
- If a piece is hollow, put the pegs where the wall is thick enough to hold them.
- If a piece takes pegs from several directions, make sure it can still slide in. Sometimes one peg needs trimming.
Test before the big print
Print just the joint first: a thin slice of each face with its peg and socket. It takes minutes and tells you if the clearance is right for your printer before you commit to a day-long print.
Doing it in your slicer, or automatically
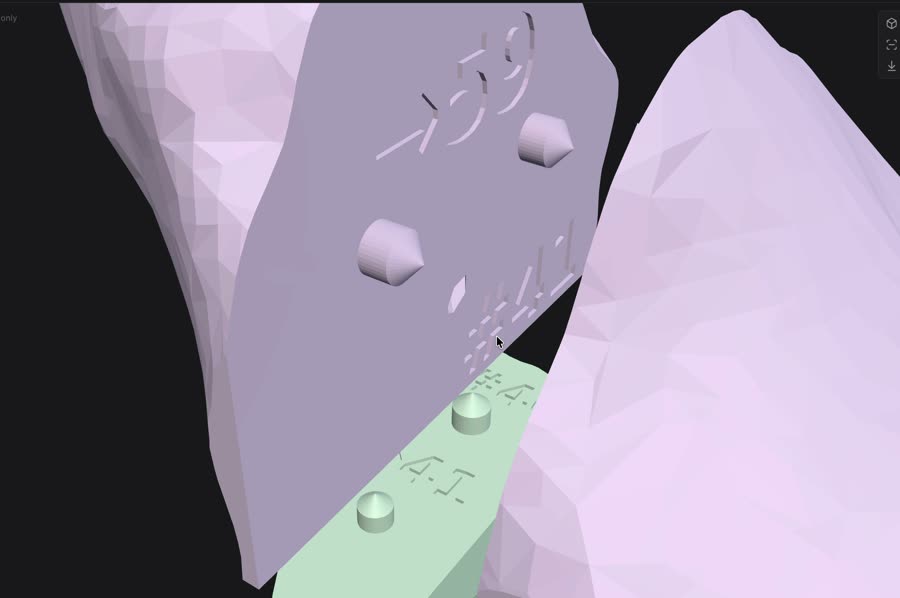
Bambu Studio, OrcaSlicer and PrusaSlicer can add connectors when you use their Cut tool, one cut at a time. For a big model with many seams, Scale & Cut 3D adds pegs to every seam automatically, sizes them down for small pieces, skips spots where a peg won't fit safely, and engraves each face with the number of the piece that goes there. You choose press fit or glue fit.
Want an app to do the cutting?
Scale & Cut 3D cuts your model into pieces that fit your printer, adds pegs and part numbers, and lays them out on plates for Bambu Studio or OrcaSlicer. Windows and Mac, $20.
Check it outQuestions
What clearance should pegs have for 3D printing?
Start with about 0.1 mm around the peg for a tight press fit, or 0.2 mm for a slip fit you glue. Make the socket 1 to 1.5 mm deeper than the peg so the faces close flush.
Are printed pegs strong enough?
For alignment and glued props, yes. For heavy or load-bearing joints, add a metal rod, threaded rod or PVC pipe through the pieces as well.
How many pegs per joint?
At least two per face, so the pieces can't rotate. Larger faces can take more.